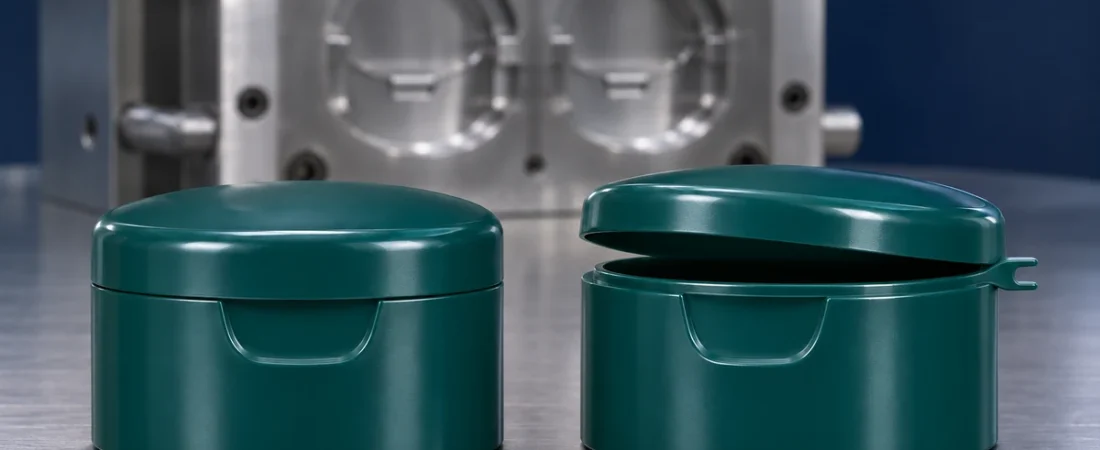
The closing fingers retract and the lids appear shut. A second later, some caps come off the cores with their lids open. Before increasing closing force, find the first frame where the lid separates from the cap body. A cap that never latched and a cap that latched and reopened need different checks.
Watch the same cavity through three stages
Use a camera positioned outside the guarding to capture the closing fingers retracting, the cap leaving the core and the transfer or drop. Compare an affected cavity with a good one over consecutive cycles. Preserve the cavity IDs on the collected samples.
| First point where a gap appears | What to check next |
|---|---|
| As the closing fingers retract | Check whether the closing finger actually brought the latch into engagement. Compare the contact position and closing stroke with a good cavity. |
| As the cap leaves the core | Review where the stripper supports the cap and whether the skirt deflects as the part releases. Compare the ejector motion and timing with the good sample. |
| After the cap has cleared the tool | Review gripper contact, chute impact or where the parts land. Check whether the lid only opens after hitting something. |
If the fault only occurs on one row, inspect what that row has in common before changing the entire cycle. A lid that closes by hand after cooling does not prove that it could latch during the production sequence.
Confirm the correction
Keep the resin, cooling and sampling conditions consistent while testing each change. Record closed caps by cavity after take-out, and check for latch damage, hinge whitening or new marks. A change is useful only if the caps stay closed without creating a new defect.
If you need a tooling review, send the closing-to-ejection video, affected cavity IDs and one accepted and one affected cap. See Mincong’s flip-top cap moulds.