Useful maintenance of PET preform molds connects a production symptom to an identified cavity, tooling component and service record. Before ordering a replacement, establish what changed, where it appeared and which evidence is available.
A fresh mark on a neck, an intermittent gate problem and a longer cycle are different observations. Treating all three as general mould wear can lead to unnecessary work and leave the actual cause unresolved. This guide helps buyers and production teams prepare a service request; the installed equipment manuals govern physical maintenance.
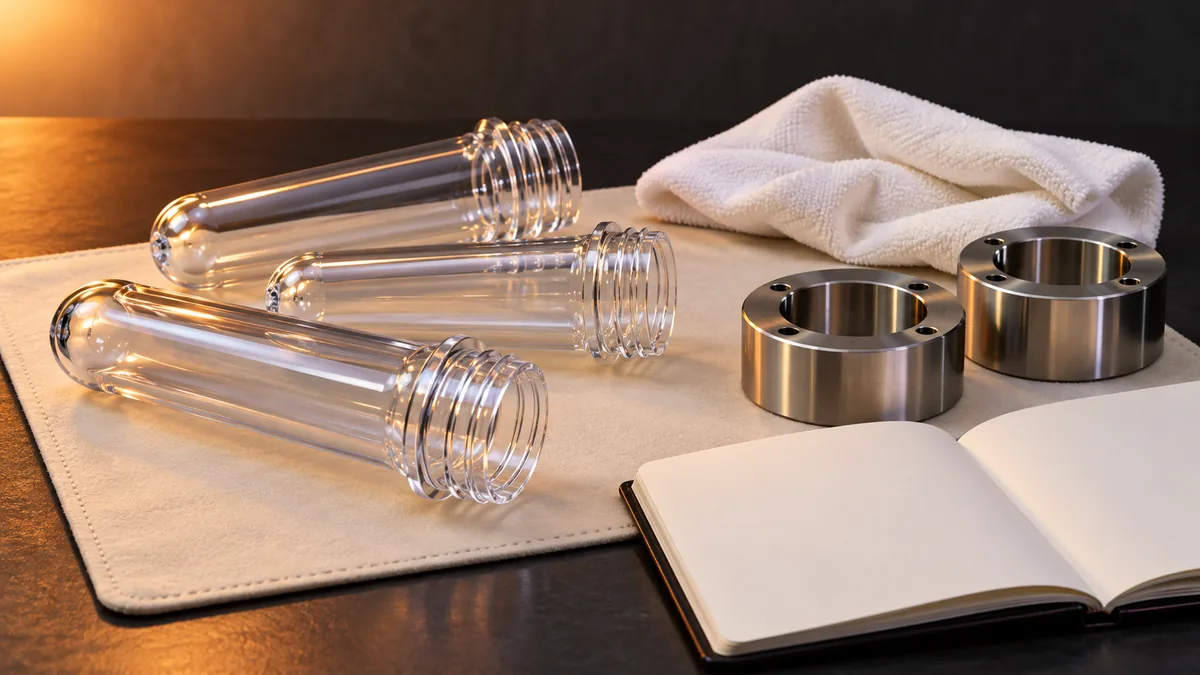
Start with a cavity map and a known sample
Retain an accepted reference sample and the record that explains its material, tooling revision and inspection conditions. When a problem appears, label new samples by cavity and collection time. Keep the reference and current samples distinguishable.
Record whether the difference occurs in one cavity, a group or the complete mould. Include interruptions, recent part replacements and changes to material or setup. These observations do not diagnose the fault, but they give the responsible technical team a basis for deciding what to inspect.
The PET injection process record guide explains the material and heat-history evidence that should accompany the samples. Do not infer that a visible change must originate in the tool simply because it is noticed after a service stop.
Separate neck observations from body and gate observations
At the neck, identify the particular thread, sealing surface, support feature or tooling interface involved. Describe a mark by location and function. A visible interface line and a new projection that affects closure engagement should not be recorded as the same condition.
For the body, preserve the agreed weight and dimensional measurements instead of relying on a quick visual comparison. Note whether marks appear immediately on release or after handling. Retain the sample conditioning basis when comparing current and reference results.
At the gate, document the appearance and the cavity concerned. Record any hot-runner alarms or relevant changes, without treating an alarm code as proof of a specific damaged part. Gate formation also depends on the installed system and process; component replacement should follow a confirmed assessment.
Make cooling evidence comparable
A statement such as “the water is cold” does not identify the circuit, flow condition or measurement location. Preserve the circuit labels and the available readings from the accepted trial or stable production baseline.
When performance changes, compare observations at the same identified connections and under comparable operating conditions. Record which circuits were serviced and whether the external cooling equipment or connections changed. If take-out or post-mould cooling is used, include it in the service history.
This is a request for identifiable evidence, not an instruction to change water temperature, pressure or cleaning chemistry. The permitted operating and cleaning conditions belong to the tool, water-treatment and equipment documentation.
Order a defined part, not a similar-looking part
A spare-part request should identify the mould serial number, assembly drawing revision, cavity or position and the component reference. Include the approved spare-parts list where available. State whether a photograph shows the current part, a reference spare or a proposed replacement.
Do not use a shared neck diameter or an external resemblance as evidence of interchangeability. Ask the responsible supplier to confirm the replacement reference and any related components or checks required by that particular assembly.
For an installed YUDO hot runner, retain its system identification and relevant documentation. If the installed system is Husky, obtain the appropriate documentation and parts confirmation for that system. A supplier name does not define the nozzle, gate, actuation arrangement or controller.
Use the installed system’s maintenance basis
Husky publishes PET hot-runner maintenance guidance that distinguishes system types. It is a useful reminder that a published interval belongs to a defined configuration. It should not be copied into every PET preform mould maintenance plan.
Obtain the current instructions for the equipment actually installed. Keep cycle counts and service events together so the maintenance team can distinguish a scheduled intervention from an investigation of changed performance.
Opening the mould, working on hot components or servicing electrical and actuated equipment requires the site’s authorized personnel and isolation procedure. This article deliberately does not prescribe a universal dismantling method, lubricant, polishing operation or valve setting.
Define the return-to-production checks
Replacement is an intervention, not the complete acceptance result. Record what was changed and which approved checks are required before samples can be released. Keep the restart material, setup and collection conditions with the results.
| Record | Useful evidence |
|---|---|
| Reason for intervention | Observed change, affected cavities and dated samples |
| Work completed | Component references, revision and service report |
| Restart basis | Material, setup, utilities and run stage |
| Sample assessment | Agreed measurements, appearance and closure-interface checks |
| Release decision | Responsible person, result and any remaining restrictions |
If the inspection basis changed, identify the change instead of comparing unlike results. A short run that produces acceptable samples may support the agreed restart checks; it does not by itself prove a new lifetime or long-term production rate.
Prepare a service discussion that can move forward
For tooling supplied by Mincong, send the tool identification, affected cavity references, comparable samples and available records. Clarify whether the request concerns inspection, a confirmed spare component or a proposed product change. The applicable supply and support scope must be confirmed for the project.
See the PET preform mould product family for new tooling enquiries. For jar projects, the wide-mouth preform mould page explains the neck and closure inputs to establish before tooling.