
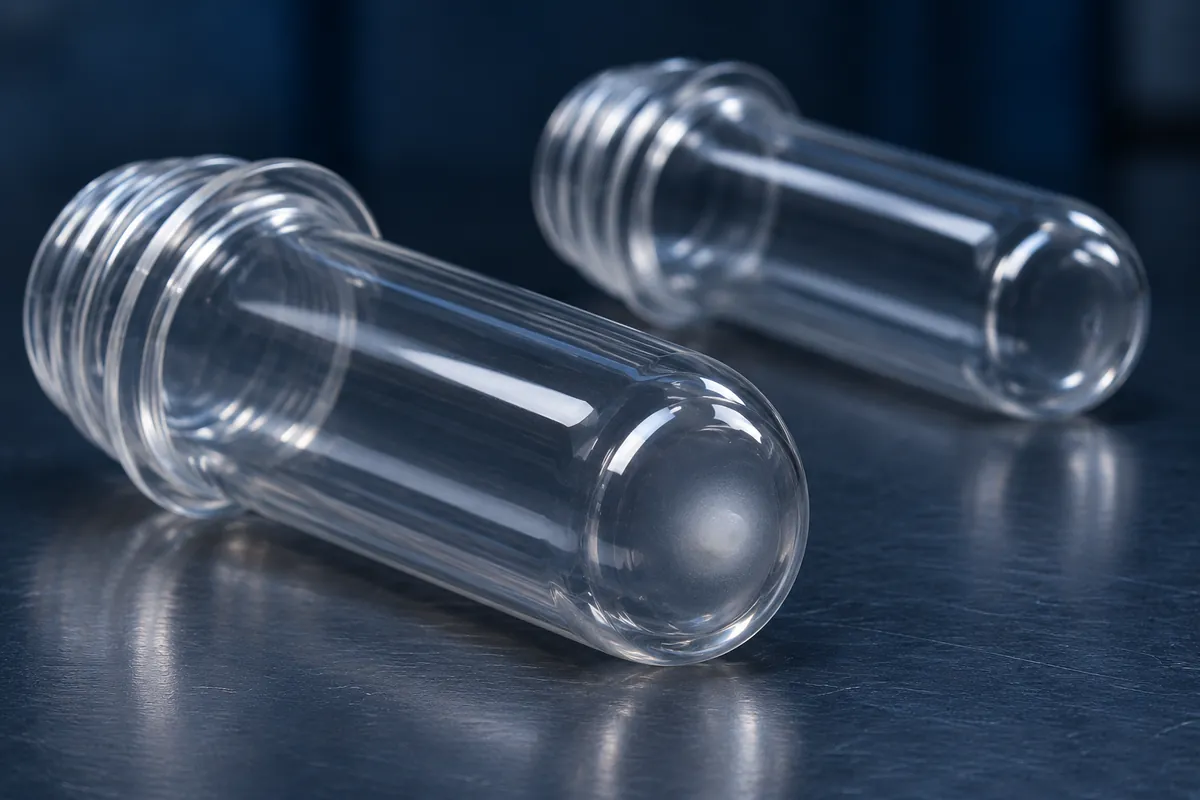
Pull a preform from a steady run and look at the base. If the body is clear but a white patch surrounds the gate, record the defect before changing the drying or temperature settings. Is the mark inside the material, or is it a raised or torn feature on the surface? Those observations point to different checks. A white area can be consistent with gate crystallinity, but colour alone does not confirm it.
First, map the defect by cavity and time
| What you see | Next check |
|---|---|
| The same cavity has an internal white patch at the gate on consecutive shots | Compare that cavity’s gate-area cooling and nozzle conditions with a good cavity. Have maintenance check for local cooling restrictions if the pattern persists. |
| Several cavities turn white at the base after a cycle or cooling-water change | Compare current cooling supply, cycle timing and take-out cooling with the last accepted run. |
| The mark is raised, torn or projects from the surface | Photograph the side profile and compare gate projection and finish with the approved sample. Review the gate or valve-pin condition before treating it as internal whitening. |
| The area looks clear straight out of injection and turns white only after blowing | Keep matched preform and bottle samples. Investigate the blowing stage before attributing the mark to the injection gate. |
Use consistent lighting and mark the cavity numbers before samples are mixed. Record how long after startup the patch appears. If you run a controlled process comparison, change one factor at a time within the approved window and repeat the same inspection on both good and affected cavities.
What to send your toolmaker: One affected sample and one accepted sample, close-up photos from the side and base, cavity numbers, and the last recorded change to cooling, cycle or nozzle settings.